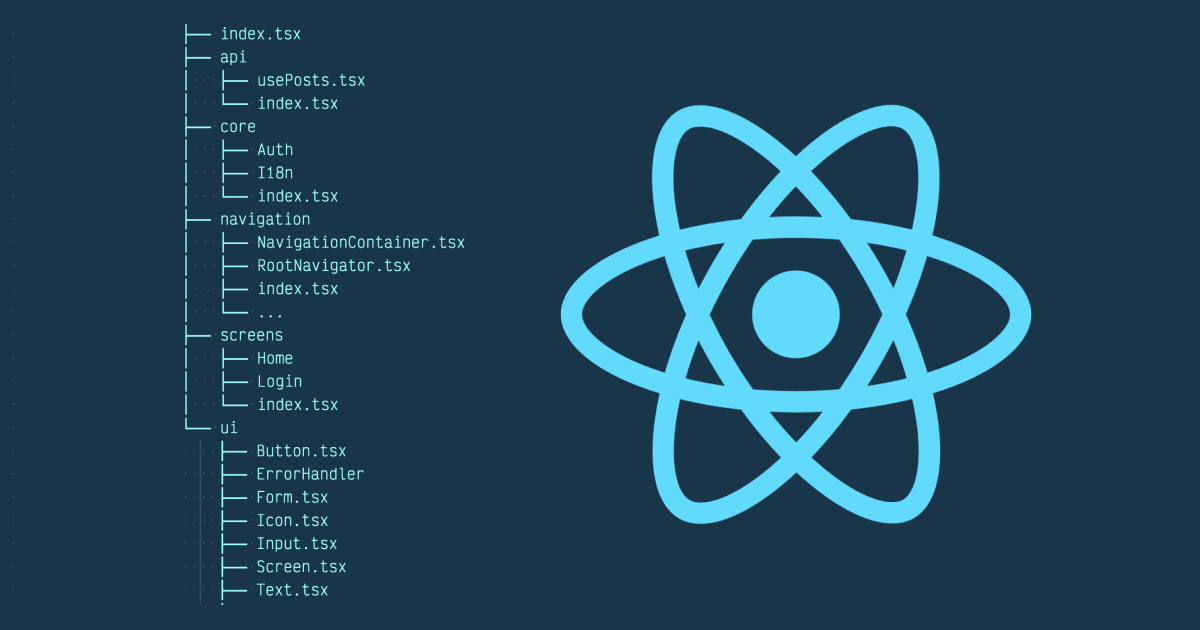
As I have been writing tutorials about react native in the last couple of months, people usually ask me about the best way to structure a react native project to make it clean, scalable, and easy to follow for newcomers developers.
In the following post, I will share an easy, clean, and scalable project structure ready to use for your next React Native project.
I need to mention that the approach reflects how we use React native in our Obytes mobile team.
Don’t miss the bonus part at the end 😎

Before I start talking about project structure, I would love to share some essential ideas you should consider for a good react native project structure.
Use Typescript
I start working with typescript for react-native a year ago. I would see that using typescript is super useful to help write clean and secure code. Still, it’s a little bit confusing in the first days as I found myself dealing with typing more than application logic, but after that, I can’t see myself creating a new project without typescript. So make sure to give a try and check those amazing Cheatsheets for experienced React developers getting started with TypeScript; you can thank me later :)
Setup Husky pre-commit hook with ESLint
Husky lets us run commands or scripts before committing or pushing our code to git. It’s beneficial to set up some pre-commit hook easily. We usually use it to run Eslint and Prettier to validate changed files typing before commit.
Install deps :
yarn add husky lint-stagedAdd the following config to the package.json file.
"husky": { "hooks": { "pre-commit": "lint-staged" } }, "lint-staged": { "*.{js,jsx,tsx}": "eslint" }Setup module-resolver for easy import
During your journey of writing clean and reusable code, for sure, you are going to use import x for "file" statement, and as you code source grow, you will find yourself writing import some wired import statement like the following:
import foo from "../.../../folder/foo";The best way to make your code clean in such cases is to use absolute import.
To start using absolute import in your project, you need to update baseUrl config inside the tsconfig.json configuration file to ./src.
Aso you will need to use the module-resolver babel plugin to update the resolver root folder for babel like the following:
module.exports = { presets: ["module:metro-react-native-babel-preset"], plugins: [ "module:react-native-dotenv", [ "module-resolver", { root: ["./src"], extensions: [ ".ios.ts", ".android.ts", ".ts", ".ios.tsx", ".android.tsx", ".tsx", ".jsx", ".js", ".json", ], }, ], ],};As we agree on those points we can jump now to how to structure your react native project.
Project structure
The is a real folder tree of a React Native application src folder i recommend to follow:
.├── index.tsx├── api│ ├── usePosts.tsx│ └── index.tsx├── core│ ├── Auth│ ├── I18n│ └── index.tsx├── navigation│ ├── AuthNavigator.tsx│ ├── NavigationContainer.tsx│ ├── RootNavigator.tsx│ ├── TabNavigator.tsx│ └── index.tsx├── screens│ ├── Home│ ├── Login│ └── index.tsx├── translations│ └── en.json│ └── ar.json└── ui ├── Button.tsx ├── ErrorHandler ├── Form.tsx ├── Icon.tsx ├── Input.tsx ├── Screen.tsx ├── Text.tsx ├── Toast.tsx ├── View.tsx ├── index.tsx └── themeYou can think of this as modules for our mobile app and every module include an application related files :
ui: in theuifolder we create our design system and all common components and theme configuration based on restyle and react-native-svg for icons.core: this folder is useful for any Provider and general concepts( a folder that you can easily copy-paste between projects). here, we put our Auth, localization…translations: translations filesnavigation: all navigation-related components ( Stacks, Tabs …)api: this folder will contain all api related hooks created usingapollo-clientorreact-querydepend on the backend implementation.screens: a folder for applications screens, we usually create a new folder for every screen or application module, and for every screen folder, you should see a components folder where we create screen components.
A little trick that deserves to be mentioned here is that every module above will have a root index file that exports all components and functions from the entire folder tree, which makes importing components very clean.
Example of ui index folder :
export * from "./theme";export * from "./View";export * from "./Text";export * from "./Button";export * from "./Screen";export * from "./Input";export * from "./Form";export * from "./ErrorHandler";export * from "./icons";Example of a screen Home:
import React from "react";import { Button, Screen, Text, View } from "ui";import { API } from "@env";import { translate, useAuth } from "core";
export const Home = () => {  const { signOut } = useAuth();  return (    <Screen>      <View flex={1} justifyContent="center">        <Text variant="header" textAlign="center">          {translate("name")}        </Text>        <Text variant="body" textAlign="center">          This is An ENV Var : {API}        </Text>        <Button label="LogOut" onPress={signOut} />      </View>    </Screen>  );};
As you can see all ideas we discuss in this post help us create clean screen components.
Bonus
What if i told you that you can benefit from those tricks and project structure ideas using a command-line tool, Well, recently we create an Obytes react native template based on Obytes mobile tribe best practices and come with the following features :
✅ Typescript by default based on official Typescript template
✅ Generate App Icon and Splash screen
✅ React Navigation Pre-installed
✅ Auth flow with sensitive-info to secure tokens
✅ A clean project structure based on this blog post.
✅ Minimal UI kit setup using restyle and configurable theme & icons using react-native-svg
✅ A good approach to handle forms based on react-hook-form
✅ A complete setup to Handle Errors
✅ Handel environment variables with react-native-env
✅ Localization
And you can use it as a template for react-native cli.
npx react-native init MyApp --template https://github.com/obytes/react-native-template-obytesMake sure to give it a try and help us improve the template.
I hope you found that interesting, informative, and entertaining. I would be more than happy to hear your remarks and thoughts about this solution in The comments.
If you think other people should read this post. Tweet,share and Follow me on Twitter for the next articles.
Originally published on https://obytes.com/