Managing environment variables in React Native is crucial for any project; it can be sometimes tricky and challenging. With all the options available out there, people tend to get lost and have a lot of questions. Do I need to use native packages or just load them using a Babel plugin? What about security, and how can I handle different environments like staging and production?
I have been there before and managed to find my way out of it, and today I will share with you how to do it the right way.
I know that “the right way” is a bold statement, but let’s first agree on what “the right way” means when managing environment variables in React Native.
For me, the correct approach should be:
- Easy: It should be straightforward to add new variables and use them in the code.
- TypeScript Support: It should support typing with TypeScript so we can ensure we have autocomplete and type checking.
- Build Time Validation: It should be validated at build time to ensure all variables are set and provide a clear error message if not.
- Multiple Environments Support: It should support multiple environments, such as staging and production, and make it easy to switch between them.
- Secure: Environment variables should be secure.
I assume we all agree on the points above. If you have any other points, please let me know in the comments below.
Before we start, the approach is heavily based on the Expo ecosystem, so if you are not using Expo or the Expo Dev Client with your app, you may need to make some adjustments to make it work. And most importantly, you are missing out on a lot of cool features, my friend, if you are not using Expo. I cannot find a reason why you are not using Expo, especially after the release of the Expo Dev Client, which gives you the best of both worlds.
Now, let’s see if we can make it and start coding.
Table of Contents
Step 1: Install the Required Packages and Create .env Files
First, we need to install those packages:
dotenv: To load the environment variables from the.envfile.Zod: A validation library to validate the environment variables.expo-constants: To get theexpoConfigobject from theapp.config.tsfile.
yarn add dotenv zod# or pnpm add dotenv zodnpx expo expo-constantsNext, we need to create the .env files for each environment we have. For example, if we want multiple variants for staging and production, we need to create the following files:
.env.development.env.staging.env.productionFor the sake of simplicity, let’s assume we have only three variables in our .env files: API_URL, BUNDLE_ID, and SENTRY_TOKEN to upload the source maps to Sentry.
BUNDLE_ID=com.example.app.stagingAPI_URL=https://qa-api.example.comSENTRY_TOKEN=https://sentry.io/123456Other files should have the same variables with different values.
Step 2: Create env.js File
To handle all logic related to environment variables, we are going to create a file called env.js at the root of our project.
💡 You may be wondering why we are not using the
.tsextension for theenv.jsfile. At the time of writing this article, you cannot import.tsfiles into theapp.config.tsfile; only.jsfiles are supported.⚠️ Please let me know in the comments sections if you know how to do it or if I am messing something.
Part 1: Load the correct .env file.
const z = require("zod");
const path = require("path");const APP_ENV = process.env.APP_ENV ?? "development";const envPath = path.resolve(__dirname, `.env.${APP_ENV}`);
require("dotenv").config({  path: envPath,});
To load the correct file, we use an inline variable environment called APP_ENV and set it to development by default. Then, we use the dotenv package to load the correct .env file based on the APP_ENV value.
Normally, the APP_ENV variable should be passed to the app while running NPM scripts, like the following:
{ "scripts": { "start": "EXPO_NO_DOTENV=1 expo start", "start:staging": "APP_ENV=staging pnpm run start", "build:production": "APP_ENV=production pnpm run start" }}🚨 Starting from Expo SDK 49, we need to use the
EXPO_NO_DOTENV=1environment variable to disable the automatic loading of environment files by Expo. Unfortunately, Expo is not extensible enough to enable us to load the correct.envfile based on theAPP_ENVvariable.
For example, running pnpm start:staging will load the .env.staging file and we can access the variables using process.env.VAR_NAME.
Part 2: Create a schema to validate the environment variables.
To validate the environment variables, we are going to use the Zod package. If you are not yet familiar with it, Zod is a TypeScript-first schema validation with static type inference. People use it to validate forms, API responses, and here we are going to use it to validate the environment variables.
Zod helps you define a schema for your objects and validate them. If the object does not match the schema, it throws an error or returns false in case you use the safeParse function. It’s as simple as that.
💡 If you are not familiar with Zod validation, I recommend watching this quick video: Zod Goes Where TypeScript Can’t.
Let’s see how we can use it to validate our environment variables.
const z = require("zod");
// ... the code above
// creating the schemaconst client = z.object({  APP_ENV: z.enum(["development", "staging", "production"]),  API_URL: z.url(),});
const buildTime = z.object({  SENTRY_TOKEN: z.string(),  BUNDLE_ID: z.string(),});
// Get the environment from the process
/** * @type {Record<keyof z.infer<typeof client> , string | undefined>} */const _clientEnv = {  APP_ENV,
  // ADD YOUR ENV VARS HERE TOO  API_URL: process.env.API_URL,};
/** * @type {Record<keyof z.infer<typeof buildTime> , string | undefined>} */const _buildTimeEnv = {  // ADD YOUR ENV VARS HERE TOO  SENTRY_TOKEN: process.env.SECRET_KEY,  BUNDLE_ID: process.env.BUNDLE_ID,};
As you can see in the code above, we create two schemas: client and buildTime. In the client schema, you need to define all variables that you want to access in the src folder, and for the buildTime schema, you need to define all variables that you want to access only in the app.config.ts file.
For example, we only need the SENTRY_TOKEN in the app.config.ts file to upload the source maps to Sentry, so we add it to the buildTime schema.
Then, we need to create two objects for our variable environment: _clientEnv and _buildTimeEnv, and load the variables from the process.env object.
As you may have noticed, we are using the z.infer utility to get the type of the schema and use it as type annotation for the _clientEnv and _buildTimeEnv objects. This way, we can get typing errors directly from the editor if any variables are missed.
⚠️ Make sure you have
"checkJs": truein yourtsconfig.jsonfile.
Part 3: Validate the Environment Variables and Error Handling
Now that we have the schemas and environment variables, we can use the safeParse function from the Zod package to validate them.
const z = require("zod");
// ... the code above
// we merge all variables into one objectconst _env = {  ..._clientEnv,  ..._buildTimeEnv,};
// merge the two schemasconst merged = buildTime.merge(client);const parsed = merged.safeParse(_env);
if (parsed.success === false) {  console.error(    "❌ Invalid environment variables:",    parsed.error.flatten().fieldErrors,
    `\n❌ Missing variables in .env.${APP_ENV} file, Make sure all required variables are defined in the .env.${APP_ENV} file.`,    `\n💡 Tip: If you recently updated the .env.${APP_ENV} file and the error still persists, try restarting the server with the -cc flag to clear the cache.`  );  throw new Error(    "Invalid environment variables, Check terminal for more details "  );}
const Env = parsed.data;const ClientEnv = client.parse(_clientEnv);
module.exports = {  Env,  ClientEnv,};
We first merge two schemas into one, called merged. Then, we use the safeParse function to validate the environment variables. We check if the validation was successful by looking at the parsed.success property. If it’s false, we log an error with a helpful message and throw an exception.
If the validation was successful, we export the Env and ClientEnv objects. Env represents all environment variables, and ClientEnv represents the variables that we can access in the src folder.
Step 3: Load the env.js file in app.config.ts.
Now that we have the env.js file ready, we can load it into the app.config.ts file and use it to configure the app.
import type { ConfigContext, ExpoConfig } from "@expo/config";
import { ClientEnv, Env } from "./env";
export default ({ config }: ConfigContext): ExpoConfig => ({  ...config,  name: "MyApp",  // ... the rest config  ios: {    bundleIdentifier: Env.BUNDLE_ID,  },  extra: {    ...ClientEnv,  },  // .. sentry config and other stuff here});
We can easily import Env and ClientEnv objects from env.js and use them to configure the app. This approach allows us to run multiple versions of the app with different settings in the .env files and the APP_ENV variable.
The good part here is when we run any Expo command, such as expo start, expo prebuild, or expo ios, the env.js file will be loaded first and the validation will be executed before the app starts. If we miss adding any variable, we will get an error like the following:
❌ Invalid environment variables: { API_URL: [ 'Required' ] }❌ Missing variables in .env.development file, Make sure all required variables are defined in the .env.development file.💡 Tip: If you recently updated the .env.development file and the error still persists, try restarting the server with the -cc flag to clear the cache.To ensure our variables are available at runtime, we need to pass the ClientEnv object to the extra property in the app.config.ts file. This way, we can access the variables in the src folder using the Constants.expoConfig.extra object.
You may be wondering why we should pass the ClientEnv object to the extra property instead of importing the env.js file directly into any file in the src folder.
Good question and the answer is simple. We can’t import the env.js file directly into the src folder because it uses the dotenv and path modules, which are Node modules and can’t be used with React Native’s runtime. Therefore, importing the env.js file directly into the src folder will throw an error.
Another important reason is that accessing environment variables with an extra property provides an additional layer of security, as our environment variables will not be included as plain text in the JavaScript bundle file.
Step 4: Access the environment variables in the src folder.
We know that we can access the environment variables in the src folder using the Constants.expoConfig.extra object. But the downside of this approach is that we lose TypeScript support, as the Constants.expoConfig.extra object is not typed. So, let’s fix this with this simple trick.
Go to the src folder and create a new file called env.js, and add the following code.
/* * This file should not be modified; use `env.js` in the project root to add your client environment variables. * If you import `Env` from `@env`, this is the file that will be loaded. * You can only access the client environment variables here. * NOTE: We use js file so we can load the client env types */
import Constants from "expo-constants";/** *  @type {typeof import('../../env.js').ClientEnv} *///@ts-ignore // Don't worry about TypeScript here; we know we're passing the correct environment variables to `extra` in `app.config.ts`.export const Env = Constants.expoConfig?.extra ?? {};
This file only exports the Constants.expoConfig.extra object. But the interesting part here is that we are using type annotations to get the type of the ClientEnv object from the env.js root file. This way, we can get typing support for the Env object without importing the env.js root file directly.
⚠️ Make sure you have
"checkJs": truein yourtsconfig.jsonfile
You can now import the Env object from src/env.js and use it to access environment variables. To make this easier, add a resolver for this file to tsconfig.json and update your Babel configuration so you can import environment variables with import { Env } from '@env'.
{ "extends": "expo/tsconfig.base", "compilerOptions": { "strict": true, "baseUrl": ".", "paths": { "@env": ["./src/env.js"] }, "esModuleInterop": true, "checkJs": true }}module.exports = function (api) { api.cache(true); return { presets: ["babel-preset-expo"], plugins: [ [ "module-resolver", { root: ["./"], alias: { "@env": "./src/env.js", }, extensions: [ ".ios.ts", ".android.ts", ".ts", ".ios.tsx", ".android.tsx", ".tsx", ".jsx", ".js", ".json", ], }, ], ], };};Congratulations! You can now access environment variables in the src folder with TypeScript support. Here’s an example:
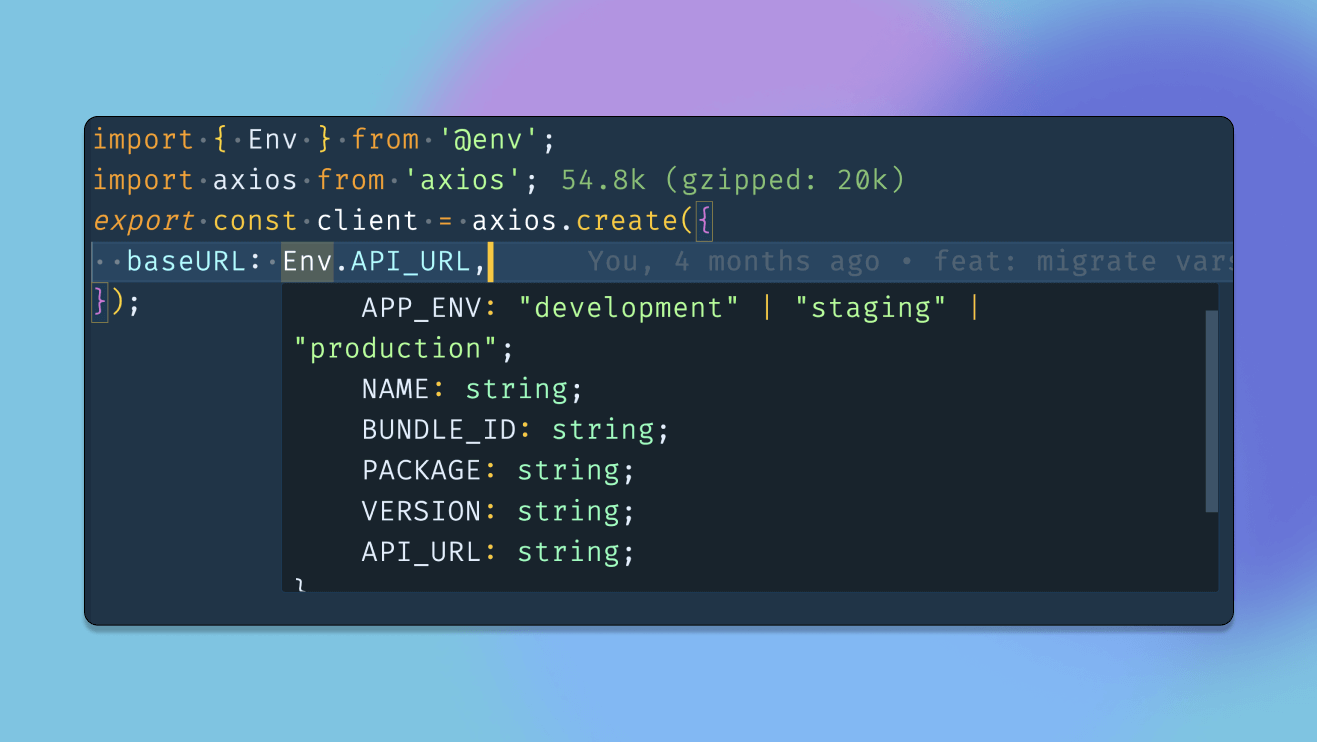
import { Env } from "@env";import axios from "axios";export const client = axios.create({ baseURL: Env.API_URL,});Real-world example
Check out our react-native-obytes-template on GitHub for a real-world example of this approach. Don’t forget to give it a star ⭐️!
🚨
Unable to resolve module pathmeans you are trying to import thepathNode.js module into your app, which will not work because the runtime is different. This issue arises because you are importing the./env.jsfile into a file located in the./srcfolder, which Metro is attempting to bundle. To resolve this, ensure you import your environment variables from@env, which should be an alias for./src/core/env.js, instead of./env.js.
Last words
I know it’s a long article, but I hope you find it useful. Before ending this article, I want to add some notes.
-
Probably, we didn’t talk that much about how secure this approach is? And the answer is that we did our best by accessing the environment variables through the
extraproperty, but it is not 100% secure. Therefore, if you have critical keys, make sure to put them on the server side. -
Expo 49 SDK automatically loads the
.envfile, which means we probably won’t need to use thedotenvmodule to load the file anymore. However, based on my understanding, the solution may not be flexible enough and may not support loading custom environment files(staging for example). Please provide more details in the comments if you think I am missing something here. -
This approach is inspired by T3 Stack and i want to thank them for their great work.
-
I shared this approach here to get your feedback and improve it, so please let me know in the comments if you have any suggestions.
Happy coding 🚀