If you are working with React Native and hosting your project on GitHub but not using GitHub Actions, you are missing out on a lot of benefits. GitHub Actions is a great tool that can help you automate your React Native workflow and save you a lot of time and effort.
I believe that having GitHub workflows is one of the best investments you can make in your project to enhance productivity and code quality. Writing these workflows can be done in just a few days or even hours. However, if you are lucky enough—which is the case as you are reading this article 😊—you can benefit from other people’s work and make your setup ready in a few minutes.
In this article, I will share with you a few GitHub Actions workflows we use for our React Native projects that you can also use.
Before we start listing the workflows, I would like to mention a small trick that we use in those workflows tha not many people know that this is possible with GitHub Actions. (Me, a few months ago 😅)
Making a workflow reusable.
Most of these workflows require common steps, such as node setup, installing dependencies, and caching. Instead of repeating those steps in every workflow, we can create a reusable workflow that can be used in other workflows.
To make it work, GitHub requires using a composite action. A composite action is an action that can be used in other workflows. It’s like a function that you can call from other workflows.
For our case, to create a composite action to set up the project, we need to create a new folder in our project called .github/actions and create a new file inside it called setup-node-pnpm-install/action.yml. This file will contain the steps that will be executed when you call this action and should specify the type as composite. Here is how it looks like:
# 🔗 Links:# Source file: https://github.com/obytes/react-native-template-obytes/blob/master/.github/actions/setup-node-pnpm-install/action.yml
name: "Setup  Node + PNPM + Install Dependencies"description: "Setup  Node + PNPM + Install Dependencies"runs:  using: "composite"  steps:    - uses: pnpm/action-setup@v2      with:        version: 8    - uses: actions/setup-node@v3      with:        node-version: 18        cache: "pnpm"
    - name: 📦 Install Project Dependencies      run: pnpm install --frozen-lockfile      shell: bash
Now, we can use this action in other workflows by calling it using the uses keyword and specifying the path to the action file. Note that you don’t need to include the action.yml; only the folder name is required.
- name: 📦 Setup Node + PNPM + install deps uses: ./.github/actions/setup-node-pnpm-installNow that we have the setup ready, let’s begin listing the workflows.
1. Type Checking
I assume that you are using TypeScript in your project. If not, you should consider giving it a try. Believe me, it’s worth it.
# 🔗 Links:# Source file: https://github.com/obytes/react-native-template-obytes/blob/master/.github/workflows/type-check.yml
name: Type Check (tsc)
on: push: branches: [main, master] pull_request: branches: [main, master]
jobs: type-check: name: Type Check (tsc) runs-on: ubuntu-latest steps: - name: 📦 Checkout project repo uses: actions/checkout@v3 with: fetch-depth: 0
- name: 📦 Setup Node + PNPM + install deps uses: ./.github/actions/setup-node-pnpm-install
- name: 📦 Install Reviewdog if: github.event_name == 'pull_request' uses: reviewdog/action-setup@v1
- name: 🏃♂️ Run TypeScript PR # Reviewdog tsc errorformat: %f:%l:%c - error TS%n: %m # we only need to add the reviewdog step if it's a pull request if: github.event_name == 'pull_request' run: | pnpm type-check | reviewdog -name="tsc" -efm="%f(%l,%c): error TS%n: %m" -reporter="github-pr-review" -filter-mode="nofilter" -fail-on-error -tee env: REVIEWDOG_GITHUB_API_TOKEN: ${{ secrets.GITHUB_TOKEN }}
- name: 🏃♂️ Run TypeScript Commit # If it's not a Pull Request then we just need to run the type-check if: github.event_name != 'pull_request' run: pnpm type-checkThis workflow will run the type check on every push to the main/master branch and on every pull request to main/master. If it’s a pull request, it will add the check to the PR as well as annotate the code with the errors using reviewdog.
2. Linting with ESLint
This workflow will run the linting on every push to the main/master branch and on every pull request to main/master. If it’s a pull request, it will add the check to the PR as well as annotate the code with waring and errors with reviewdog.
# 🔗 Links:# Source file: https://github.com/obytes/react-native-template-obytes/blob/master/.github/workflows/lint-ts.yml
name: Lint TS (eslint, prettier)
on: push: branches: [main, master] pull_request: branches: [main, master]
jobs: lint: name: Lint TS (eslint, prettier) runs-on: ubuntu-latest
steps: - name: 📦 Checkout project repo uses: actions/checkout@v3 with: fetch-depth: 0
- name: 📦 Setup Node + PNPM + install deps uses: ./.github/actions/setup-node-pnpm-install
- name: 🏃♂️ Run ESLint PR if: github.event_name == 'pull_request' uses: reviewdog/action-eslint@v1 with: github_token: ${{ secrets.GITHUB_TOKEN }} reporter: github-pr-review eslint_flags: ". --ext .js,.jsx,.ts,.tsx"
- name: 🏃♂️ Run ESLint PR if: github.event_name != 'pull_request' run: pnpm run lint3. Expo Doctor Check
This workflow runs the expo doctor command to check if your project dependencies are aligned with the expo sdk version you are using. It can be triggered manually from the Actions tab in your project. or automatically on every push to the main/master branch and on every pull request to main/master in case the package.json or pnpm-lock.yaml files have been changed.
# 🔗 Links:# Source file: https://github.com/obytes/react-native-template-obytes/blob/master/.github/workflows/expo-doctor.yml
name: Expo Doctor (expo)
on:  push:    branches:      - main      - master    paths:      - "package.json"      - "pnpm-lock.yaml"  pull_request:    paths:      - "package.json"      - "pnpm-lock.yaml"
jobs:  doctor:    name: Expo Doctor (expo)    runs-on: ubuntu-latest
    steps:      - name: 📦 Checkout project repo        uses: actions/checkout@v3        with:          fetch-depth: 0
      - name: 📦 Setup Node + PNPM + install deps        uses: ./.github/actions/setup-node-pnpm-install
      - name: 🚑 Run Doctor Checks        run: npx expo-doctor@latest
👀 A fun idea is to add a comment to the pull request (PR) with the output of the
expo doctorcommand. You could even set up a workflow to run this every week and open a PR if there is a new version of the Expo SDK.
4. Unit Tests
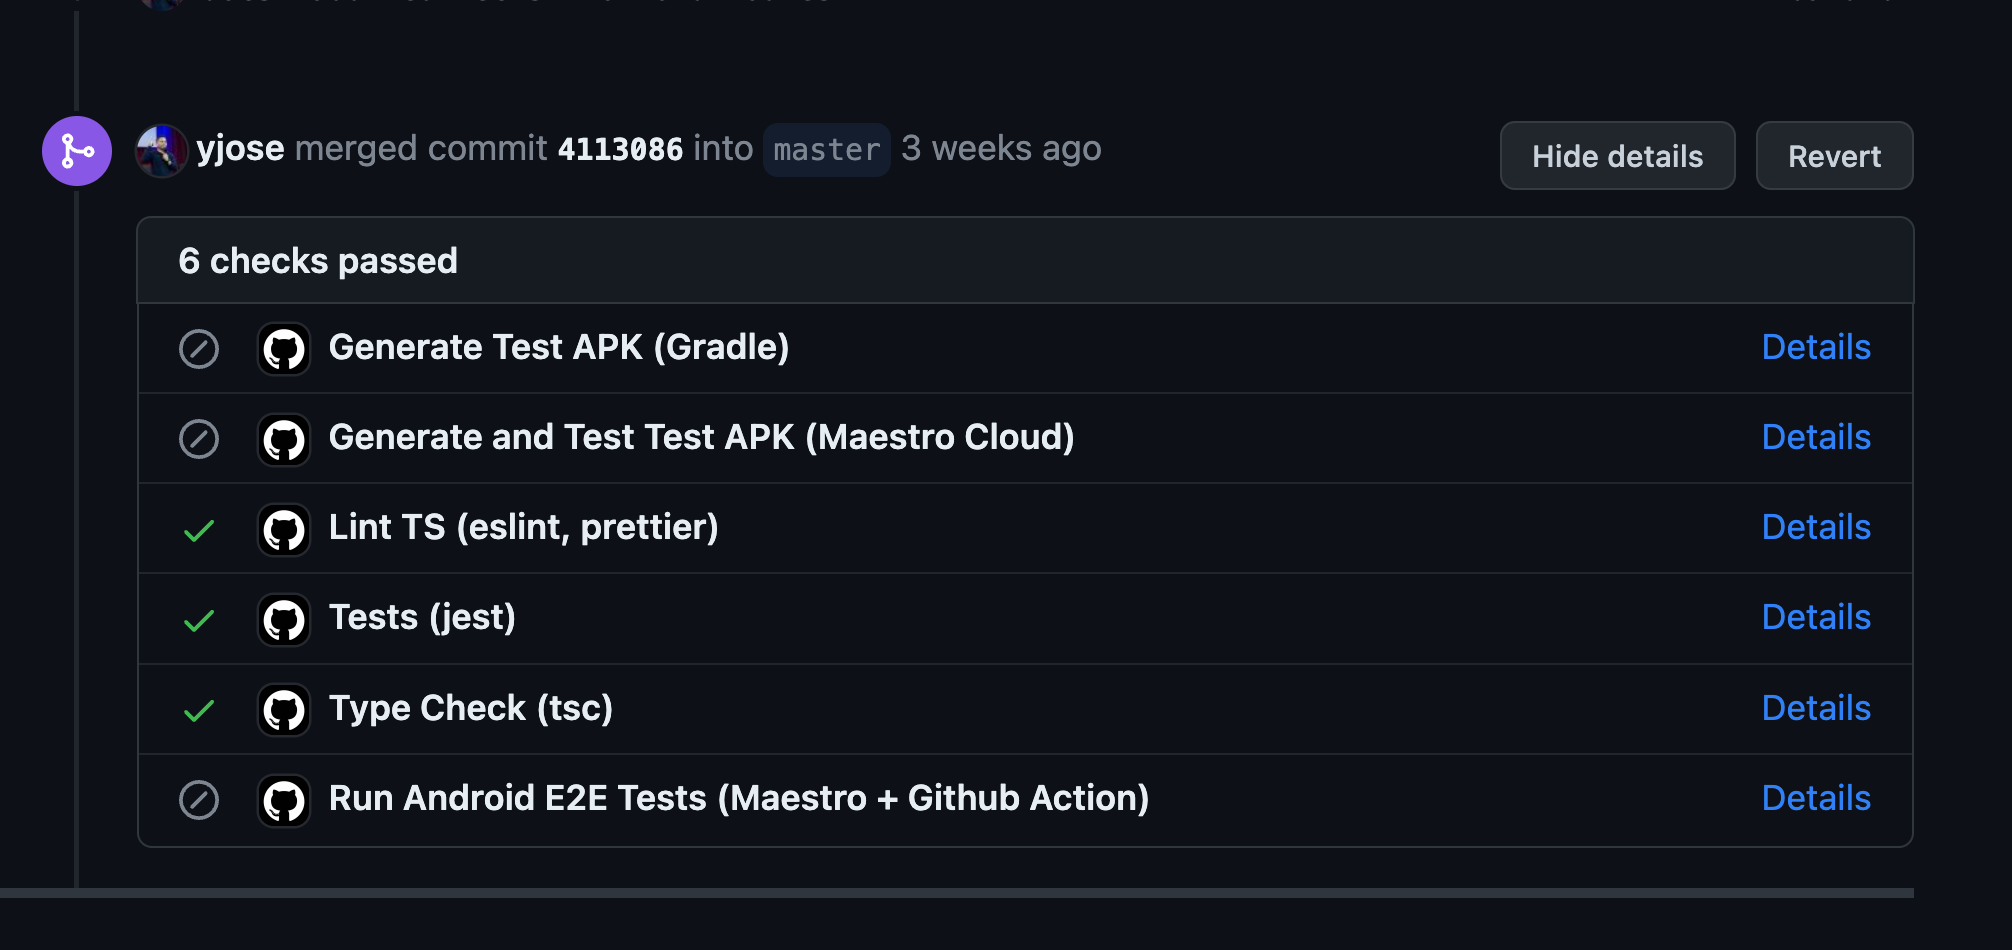
This workflow runs the unit tests on every push to the main/master branch and on every pull request to main/master. If it’s a pull request, it will post a comment with the coverage details. as well as annotate the test results directly in Github.
# 🔗 Links:# Source file: https://github.com/obytes/react-native-template-obytes/blob/master/.github/workflows/test.yml
name: Tests (jest)
on: push: branches: [main, master] pull_request: branches: [main, master]
jobs: test: name: Tests (jest) runs-on: ubuntu-latest
steps: - name: 📦 Checkout project repo uses: actions/checkout@v3 with: fetch-depth: 0
- name: 📦 Setup Node + PNPM + install deps uses: ./.github/actions/setup-node-pnpm-install
- name: 🏃♂️ Run Tests run: pnpm run test:ci
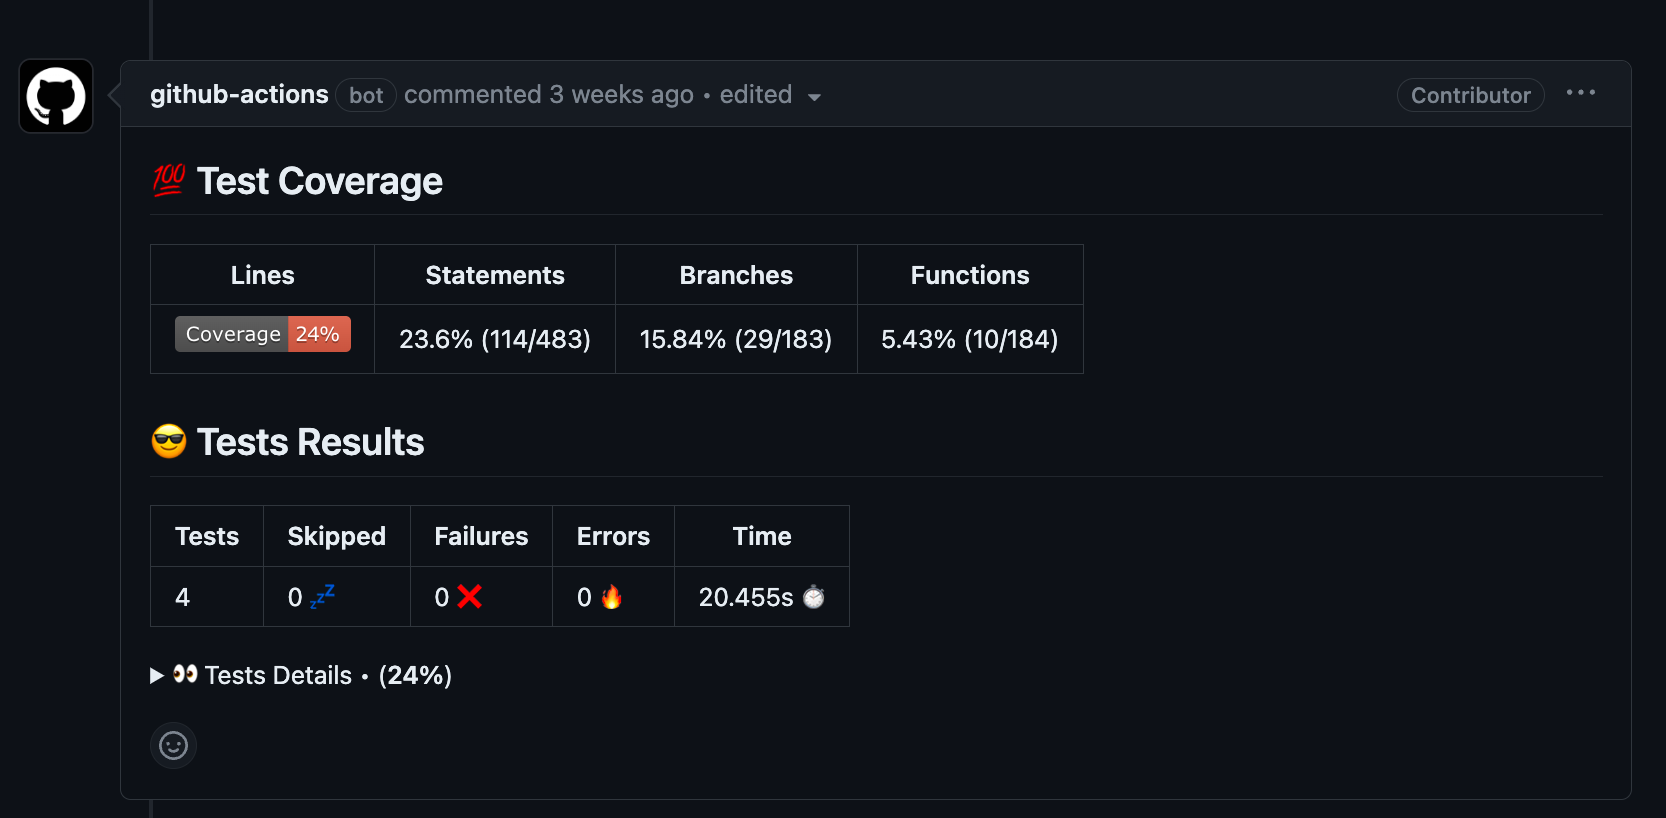
- name: Jest Coverage Comment uses: MishaKav/jest-coverage-comment@main if: (success() || failure()) && github.event_name == 'pull_request' with: coverage-summary-path: ./coverage/coverage-summary.json summary-title: "💯 Test Coverage" badge-title: Coverage create-new-comment: false junitxml-title: 😎 Tests Results junitxml-path: ./coverage/jest-junit.xml coverage-title: 👀 Tests Details coverage-path: ./coverage/coverage.txt report-only-changed-files: true⚠️ To ensure proper functionality, you need to make sure that your Jest configuration is set up to generate coverage files in the specified format. You can refer to the jest.config.js file for more information.
Here is an example of the comment that will be posted on the pull request.
5. Image Optimization
Unoptimized images can cause various issues in your app, including performance problems and increased app size. This workflow ensures that all images in your project are optimized and compressed.
The workflow runs whenever there is a push to the main/master branch containing changes to image files. It will then open a pull request with the optimized images.
# 🔗 Links:# Source file: https://github.com/obytes/react-native-template-obytes/blob/master/.github/workflows/compress-images.yml
name: Compress imageson:  push:    branches:      - master      - main    paths:      - "**.jpg"      - "**.jpeg"      - "**.png"      - "**.webp"  workflow_dispatch:
jobs:  build:    name: calibreapp/image-actions    runs-on: ubuntu-latest    steps:      - name: Checkout Branch        uses: actions/checkout@v3        with:          fetch-depth: 0      - name: Compress Images        id: calibre        uses: calibreapp/image-actions@main        with:          githubToken: ${{ secrets.GITHUB_TOKEN }}          compressOnly: true          ignorePaths: "node_modules/**,ios/**,android/**"
      - name: Create Pull Request        if: steps.calibre.outputs.markdown != ''        uses: peter-evans/create-pull-request@v3        with:          title: Auto Compress Images          branch-suffix: timestamp          commit-message: Compress Images          body: ${{ steps.calibre.outputs.markdown }}
6. More Workflows
I mentioned above the most common workflows we use in our projects. However, we have more workflows that you can find in our Workflow References including:
That’s it for me. Now it’s your turn. I would love to hear from you. What workflows do you use in your projects? What are your favorite workflows? Please share them in the comments section below.
Happy coding 🚀